

BLOG
DIY Ceramic Valentine’s Day Gifts: A Step-by-Step Tutorial for Unique and Heartfelt Creations
Release time:
2026-01-06
DIY Ceramic Valentine’s Day Gifts: A Comprehensive Step-by-Step Tutorial Valentine’s Day is a time to express love and appreciation, and what better way to do so than by creating something unique and personal? **DIY ceramic gifts** not only showcase your creativity but also provide a heartfelt touch that store-bought items simply can’t match. This guide will take you through each step of crafting
DIY Ceramic Valentine’s Day Gifts: A Comprehensive Step-by-Step Tutorial
Valentine’s Day is a time to express love and appreciation, and what better way to do so than by creating something unique and personal? **DIY ceramic gifts** not only showcase your creativity but also provide a heartfelt touch that store-bought items simply can’t match. This guide will take you through each step of crafting beautiful ceramic gifts, from the initial materials needed to the final touches that make your creations truly special.
Table of Contents
1. Understanding the Appeal of DIY Ceramic Gifts
2. Essential Materials and Tools for Ceramic Crafting
3. Choosing the Right Clay for Your Valentine’s Day Projects
4. Step-by-Step Process for Creating DIY Ceramic Gifts
4.1. Preparing Your Workspace
4.2. Shaping and Sculpting the Clay
4.3. Drying and Firing Your Ceramics
4.4. Painting and Glazing Techniques
4.5. Final Touches and Personalization Ideas
5. Unique DIY Ceramic Gift Ideas for Valentine’s Day
6. How to Present Your Handmade Gifts
7. Frequently Asked Questions (FAQs)
8. Conclusion: The Beauty of Handmade Gifts
1. Understanding the Appeal of DIY Ceramic Gifts
Creating DIY ceramic gifts allows you to pour your heart into each piece. Unlike generic gifts, handmade ceramics convey a personal touch that resonates with the recipient. They represent time invested, creativity, and deep emotional connections. By crafting these gifts, you not only express your feelings but also create lasting memories that can be cherished forever.
2. Essential Materials and Tools for Ceramic Crafting
Before diving into the intricate world of ceramics, gather the essential materials and tools required for your projects. Here’s what you’ll need:
- **Clay**: Choose a high-quality air-dry or kiln-firing clay based on your project requirements.
- **Rolling Pin**: For flattening your clay evenly.
- **Cutting Tools**: A craft knife or clay cutter for shaping.
- **Sculpting Tools**: These include various sculpting tools for adding details to your designs.
- **Glazes and Paints**: Non-toxic paint and ceramic glazes for finishing touches.
- **Brushes and Sponges**: For applying glazes and paints.
- **Sealant**: To protect your finished pieces, if necessary.
Having these tools on hand will streamline your crafting process, making it easier to focus on your artistic vision.
3. Choosing the Right Clay for Your Valentine’s Day Projects
The type of clay you choose greatly influences the outcome of your creations. Here are two popular options:
- **Air-Dry Clay**: Ideal for beginners, air-dry clay is easy to work with and doesn’t require special equipment for firing. It hardens when exposed to air, making it a convenient choice for homemade gifts.
- **Stoneware Clay**: If you opt for a more durable piece, stoneware is an excellent choice for kiln-firing. This type of clay can withstand high temperatures, making it suitable for functional items like mugs or plates.
Ultimately, your choice should depend on the type of gift you wish to create and your skill level in pottery.
4. Step-by-Step Process for Creating DIY Ceramic Gifts
Now that you have all the materials ready, let’s delve into the step-by-step process of creating your DIY ceramic gifts.
4.1. Preparing Your Workspace
Before starting, ensure that your workspace is clean and organized. Cover your working surface with a cloth or a plastic sheet to protect it from clay debris. Having all your tools within reach will help you work efficiently.
4.2. Shaping and Sculpting the Clay
Roll out your clay using a rolling pin to an even thickness of about **1/4 inch**. Use cookie cutters or templates to cut out shapes. For a Valentine’s Day theme, consider heart shapes, lovebirds, or personalized items like name plates. Use sculpting tools to add intricate designs or textures to your pieces.
4.3. Drying and Firing Your Ceramics
After shaping, allow your pieces to dry completely. This may take several hours to a day, depending on the clay and humidity. If you’re using kiln-firing clay, follow the manufacturer’s instructions for firing. Make sure to fire your pieces at the appropriate temperature to ensure durability.
4.4. Painting and Glazing Techniques
Once your ceramics are dry, it’s time to unleash your creativity with painting and glazing. Use non-toxic paints for colorful designs or opt for ceramic glazes for a more polished look. Apply multiple coats if needed, allowing each layer to dry completely before adding the next. For a romantic touch, consider using shades of pink, red, or gold.
4.5. Final Touches and Personalization Ideas
Adding personal touches can elevate your DIY creations. Consider inscribing meaningful quotes, names, or dates onto your ceramics. You can also add embellishments like beads or ribbons to enhance their appeal. Personalization not only makes the gift unique but also shows the recipient that you put thought into it.
5. Unique DIY Ceramic Gift Ideas for Valentine’s Day
Here are some creative ideas for your DIY ceramic gifts:
- **Personalized Mugs**: Create custom mugs with names or love quotes. Perfect for sipping coffee together on chilly mornings.
- **Heart-Shaped Dishes**: Ideal for holding trinkets or jewelry, these dishes add a decorative touch to any space.
- **Ceramic Coasters**: Design coasters with romantic motifs or personal messages, perfect for your partner’s favorite drinks.
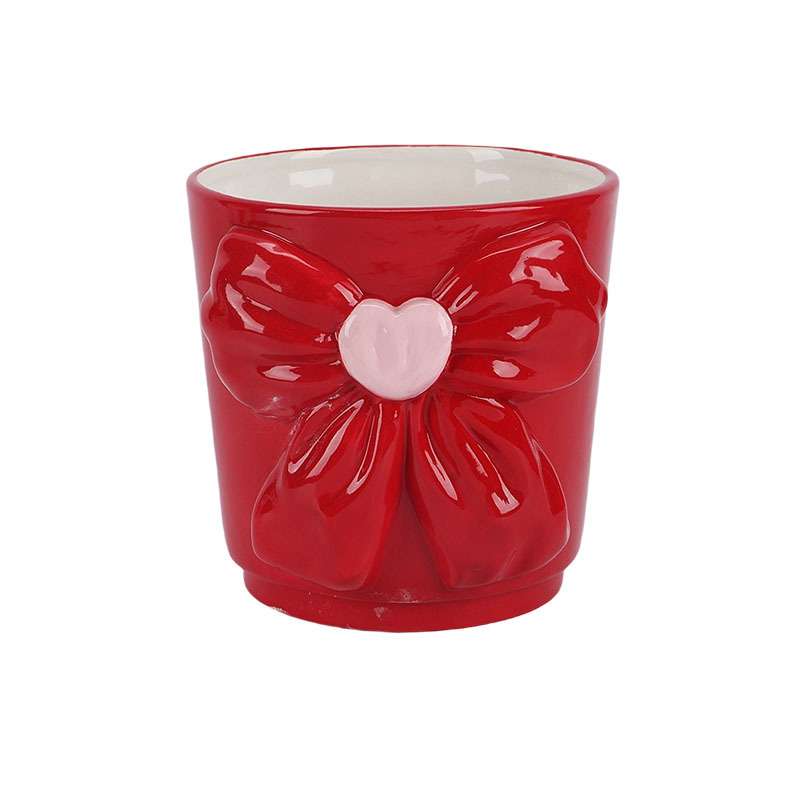
- **Customized Planters**: Craft a unique planter for succulents or flowers, symbolizing the growth of your love.
- **Charming Wall Art**: Create decorative wall pieces that depict your love story or memorable moments.
These unique ideas will not only impress your loved one but also provide them with functional keepsakes.
6. How to Present Your Handmade Gifts
Presentation is key to making your gifts feel special. Consider the following tips:
- **Gift Wrapping**: Use festive wrapping paper or fabric to wrap your ceramic gifts. Add a personal note to express your feelings.
- **Gift Baskets**: Combine multiple ceramic pieces into a gift basket for a more elaborate present.
- **Themed Packaging**: Match your packaging to the Valentine’s Day theme, using hearts, roses, or romantic colors.
Creating an appealing presentation enhances the overall gifting experience and shows that you care.
7. Frequently Asked Questions (FAQs)
**Q1: Can I use regular clay for making gifts?**
A1: While regular clay can be used, it’s recommended to use air-dry or kiln-firing clay for durability and better results.
**Q2: How long does it take for air-dry clay to harden?**
A2: Air-dry clay usually takes 24 hours to completely harden, but this can vary based on thickness and humidity.
**Q3: Do I need a kiln to fire my ceramics?**
A3: If you’re using kiln-firing clay, a kiln is necessary. However, air-dry clay does not require firing.
**Q4: Can I paint air-dry clay?**
A4: Yes, you can paint air-dry clay with non-toxic acrylic paints or use ceramic glazes for a finished look.
**Q5: How can I seal my ceramic pieces?**
A5: Use a clear sealant spray or a brush-on sealant to protect your finished ceramics from moisture and wear.
8. Conclusion: The Beauty of Handmade Gifts
Creating DIY ceramic gifts for Valentine’s Day is an enriching experience that goes beyond mere craftsmanship. It allows you to express your emotions in a tangible form, making your gifts not only unique but also heartfelt. As you engage in this creative process, remember that the time and effort you invest will be cherished by your loved ones. This Valentine’s Day, let your creativity shine and create lasting memories with DIY ceramics that speak from the heart.


TEL: +86 18650113563
E-mail: info@panshion.com
Whatsapp: +60 18 760 6632
FACTRY Unit : Baomei Industrial area , Dehua county , Quanzhou,Fujian P.R., China. 362500.
OFFICE Unit : Donghai Cross-Border Eco Park, Bldg 4, Units 212-214, Fengze, Quanzhou, Fujian P.R., China 362000


Leave Message
Statement
Privacy Statement
This privacy policy discloses the privacy practices for Quanzhou Panshion Gift Co.,Ltd. Tools. This privacy policy applies solely to information collected by this web site. It will notify you of the following:
What personally identifiable information is collected from you through the web site, how it is used and with whom it may be shared.
What choices are available to you regarding the use of your data.
The security procedures in place to protect the misuse of your information.
How you can correct any inaccuracies in the information.
Information Collection, Use, and Sharing
We are the sole owners of the information collected on this site. We only have access to/collect information that you voluntarily give us via email or other direct contact from you. We will not sell or rent this information to anyone.
We will use your information to respond to you, regarding the reason you contacted us. We will not share your information with any third party outside of our organization, other than as necessary to fulfill your request, e.g. to ship an order.
Unless you ask us not to, we may contact you via email in the future to tell you about specials, new products or services, or changes to this privacy policy.
Your Access to and Control Over Information
You may opt out of any future contacts from us at any time. You can do the following at any time by contacting us via the email address or phone number given on our website:
See what data we have about you, if any.
Change/correct any data we have about you.
Have us delete any data we have about you.
Express any concern you have about our use of your data.
Security
We take precautions to protect your information. When you submit sensitive information via the website, your information is protected both online and offline.
Wherever we collect sensitive information (such as credit card data), that information is encrypted and transmitted to us in a secure way. You can verify this by looking for a closed lock icon at the bottom of your web browser, or looking for “https” at the beginning of the address of the web page.
While we use encryption to protect sensitive information transmitted online, we also protect your information offline. Only employees who need the information to perform a specific job (for example, billing or customer service) are granted access to personally identifiable information. The computers/servers in which we store personally identifiable information are kept in a secure environment.
Updates
Our Privacy Policy may change from time to time and all updates will be posted on this page.
If you feel that we are not abiding by this privacy policy, you should contact us immediately via e-mail donshin@panshion.com
Powered by 300.cn